version info / manual
The update is sent as encoded data via audio cable, much like a modem or fax. For the transfer, nanoloop's headphone port functions as data input while this page plays the data-audio.
To set up the transfer, connect nanoloop's and this device's headpohne output with a 3.5mm small jack cable (mono or stereo).

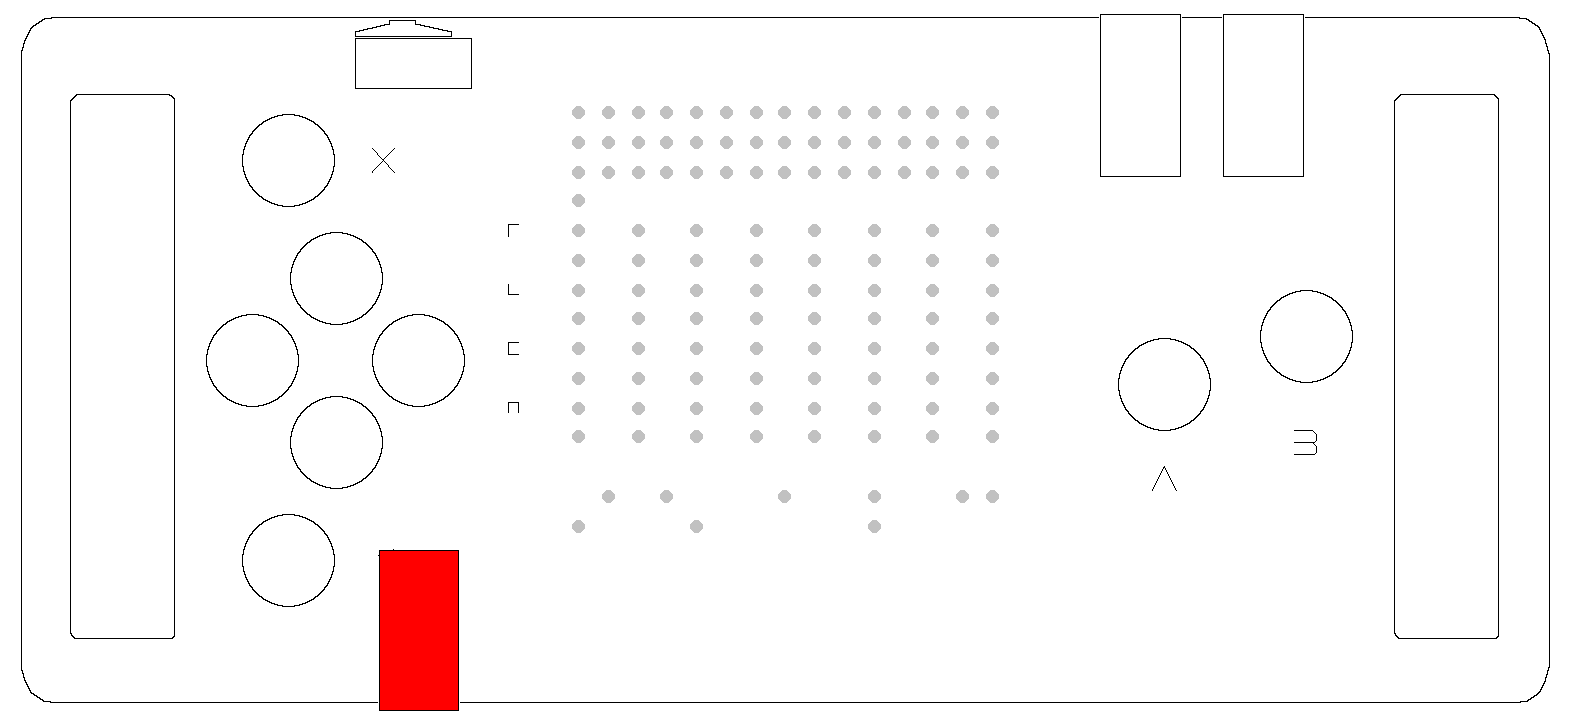
To start the nanoloop device in boot mode, hold the Y button while switching it on:

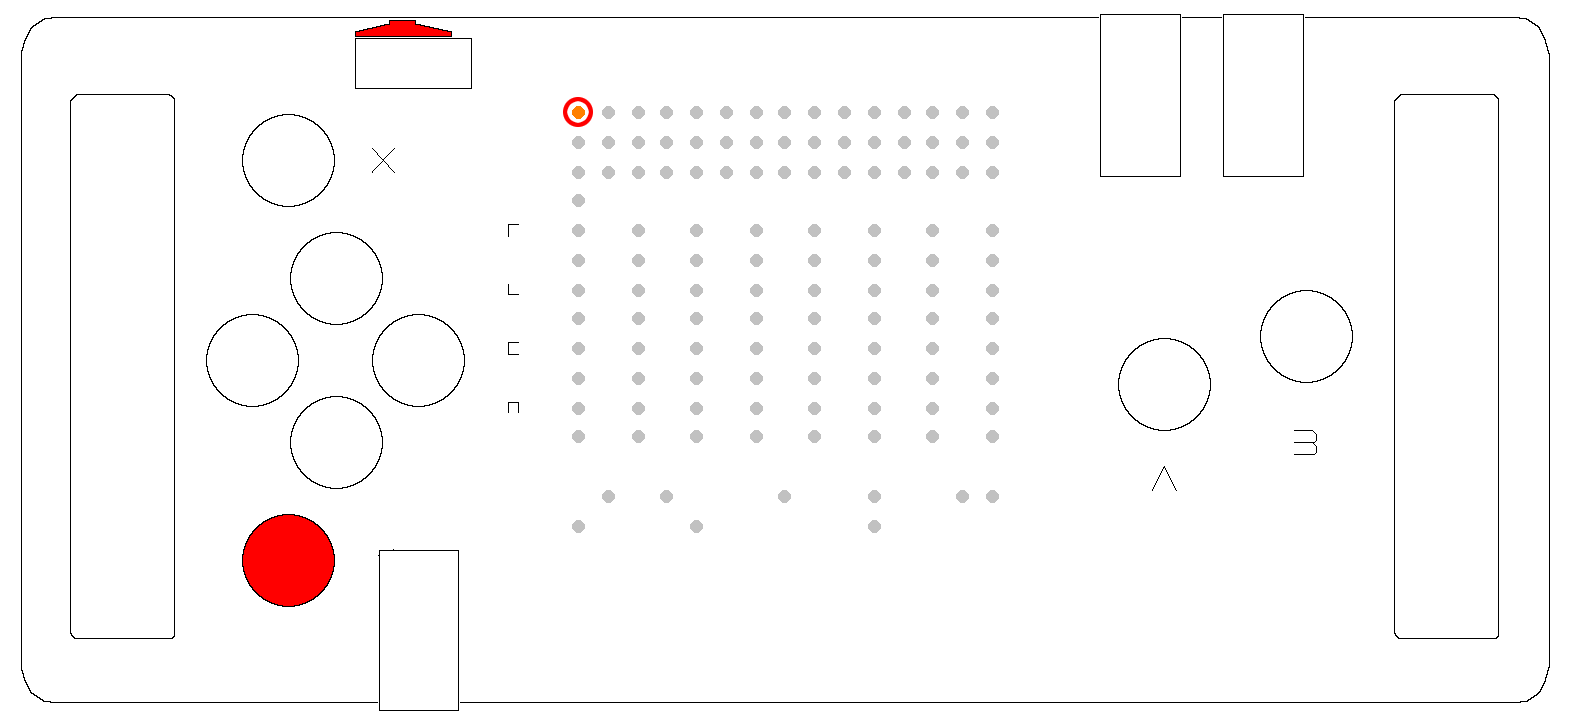
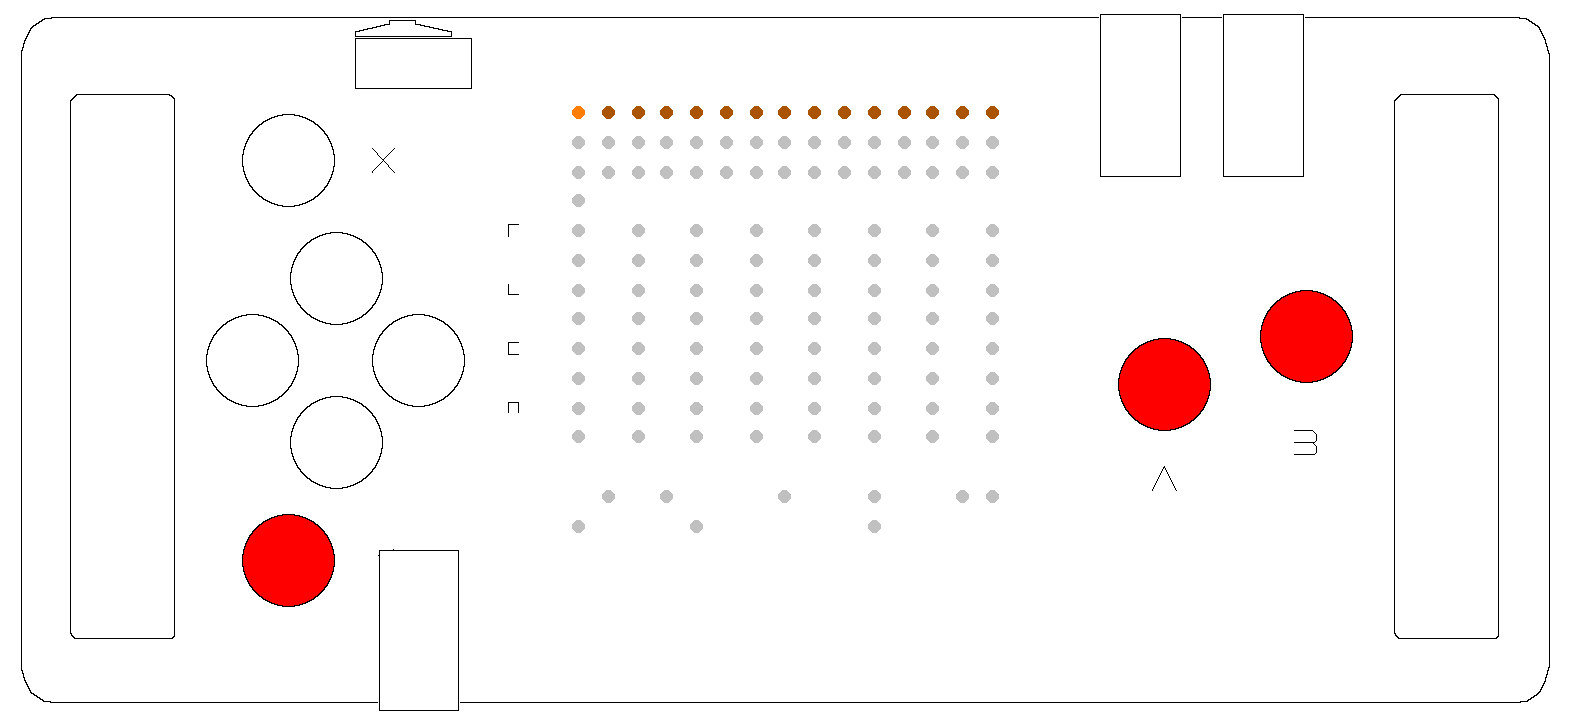
When the upper left LED is blinking, the device is in boot mode. To clear flash memory and prepare it for transfer, press Y, A and B:

The top row of LEDs will light up in a few seconds while clearing flash.
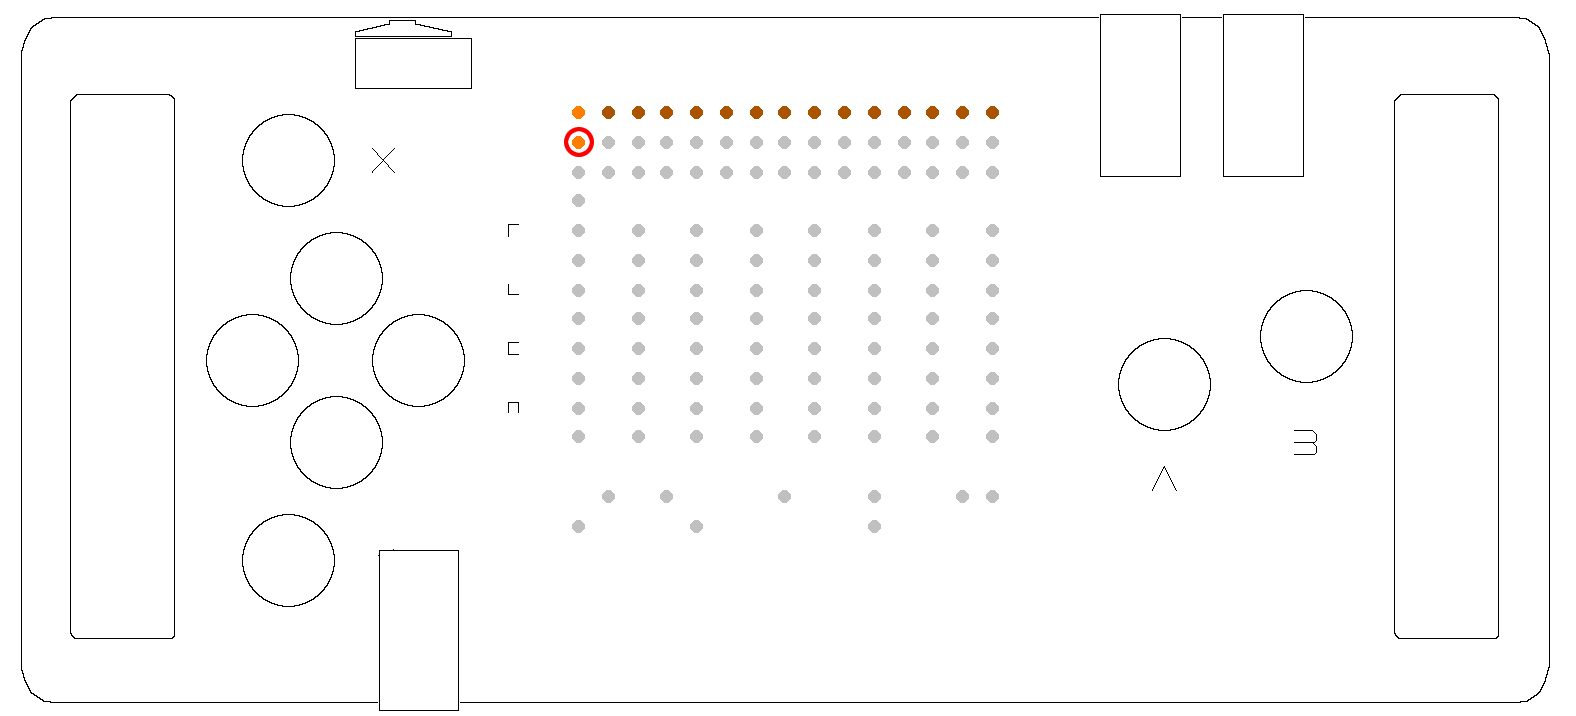
The audio is rather noisy, before starting playback, please make sure that sound is not played through the speaker and volume is set to minimum. To test functionality, play the test loop below and slowly rise the system volume control until the first LED of the second row starts blinking.

Raise volume a little more beyond the point where you get stable blinking.
The test loop plays infinitely, please stop it manually. If possible, turn off system sounds (email notifications etc) becasue these may interfere with the audio-data.
After stopping the test loop, play the file below:
(version 0.6)
The leftmost LED of the top row should start blinking and six LEDs should slowly light up more bright as memory is filled with the update. The transfer takeas about 2:50. When it was successful, the upper LED row is lit in bright orange. To start the new software, reboot the device.
If after the transfer the LED row is lit only partially while the rest is still dim or in case the leftmost LED starts blinking again, the transfer was unsuccessful.
In this case, please make sure that no other sound is playing, turn off any sound "enhancements" in system sound settings and try the uncompressed WAV audio:
WAV file (15 MB)
If it still doesn't work, try different volume levels and if that doesn't help, please try on an other device.
The audio file for previous version 0.56 is available here:
WAV file (8 MB)
(c) 1998-2021 Oliver Wittchow
"Game Boy" and "Game Boy Advance" are registered trade marks of Nintendo
Nintendo has not licensed, endorsed or approved of nanoloop.